Welcome

Welcome to Vicarage Quilts - thank you for visiting.

I offer several services: longarm quilting, patchwork and appliqué workshops and small items made to commission. In the past I've also made quilts to commission as well as Church or School banners for Walking Days and permanent display.

Please visit the pages listed on the right hand side to find out more and email me with any queries.

Sunday, 3 March 2013

Half term


A half-term finish - can you guess what it is?


Full points if you said it's a fabric envelope for a sweet boy's 'Lifestory Book' his Mum keeps so he'll always know about his birth family.  Sorry, you can't see the whole of the front because I need to keep his name off my blog.  The lizard is because - well he likes lizards,  Also, rugby and vehicles, hence the rugby ball hidden under the scissors and the vehicles on the flap.  On which I put two poppers, even though the flap was really a bit thick and the hammer was near my thumb and fingers and scary.


Next mystery item.


Letters for the reverse of the school banner.  When I've worked up the necessary nerve to get my humungous piece of plywood down and iron them all in place I'll be able to start sewing them all in place.  Hurrah, dozens of letters to sew round!  (Actually, that's not a problem, I quite like the precision of doing that - the difficulty is that the piece of fabric is so big to manoeuvre about, and you end up with unsewn letters trying to peel off because they're getting mauled in the manoeuvring.)  Anyway, the nerve almost came upon me yesterday, but was elbowed out of the way by the reality that Mothering Sunday is only a week away, and the gift situation hadn't been entirely - well - sewn up...more on that after next weekend!


I also started a non-quilty, non-businessy project during half-term with this little lot.


It's grown really quickly, I think because I'm using a bigger hook than recommended on the ball band, which feels like cheating somehow.  (Although I'm not sure who's watching me - the crochet police?)


Gotta love the stripy rows!

Friday, 22 February 2013

Ali's Summersville Quilt


Ali ( a friend of my sister) made this lovely bright lap quilt for a very lucky little chap. 


She bought the feature fabrics ("Summersville") when we were all at the Festival of Quilts at Birmingham last summer and has found some really good colour matches in the bright solids.


Ali requested a sort of square spiral design for the quilting, with curved corners - I hope I hit the mark!


The backing's a really jolly multi-coloured spot - I used a gold thread for the quilting and you can see it quite nicely on the backing too.


Couldn't quite manage to get a straight shot of the quilt - sorry arms not long enough!  However, I can assure you it was a pleasure to quilt, it loaded beautifully onto the longarm and there were no wavy borders or puffy bits in sight!  Well done Ali!

Tuesday, 12 February 2013

Jan's Indigo Quilt


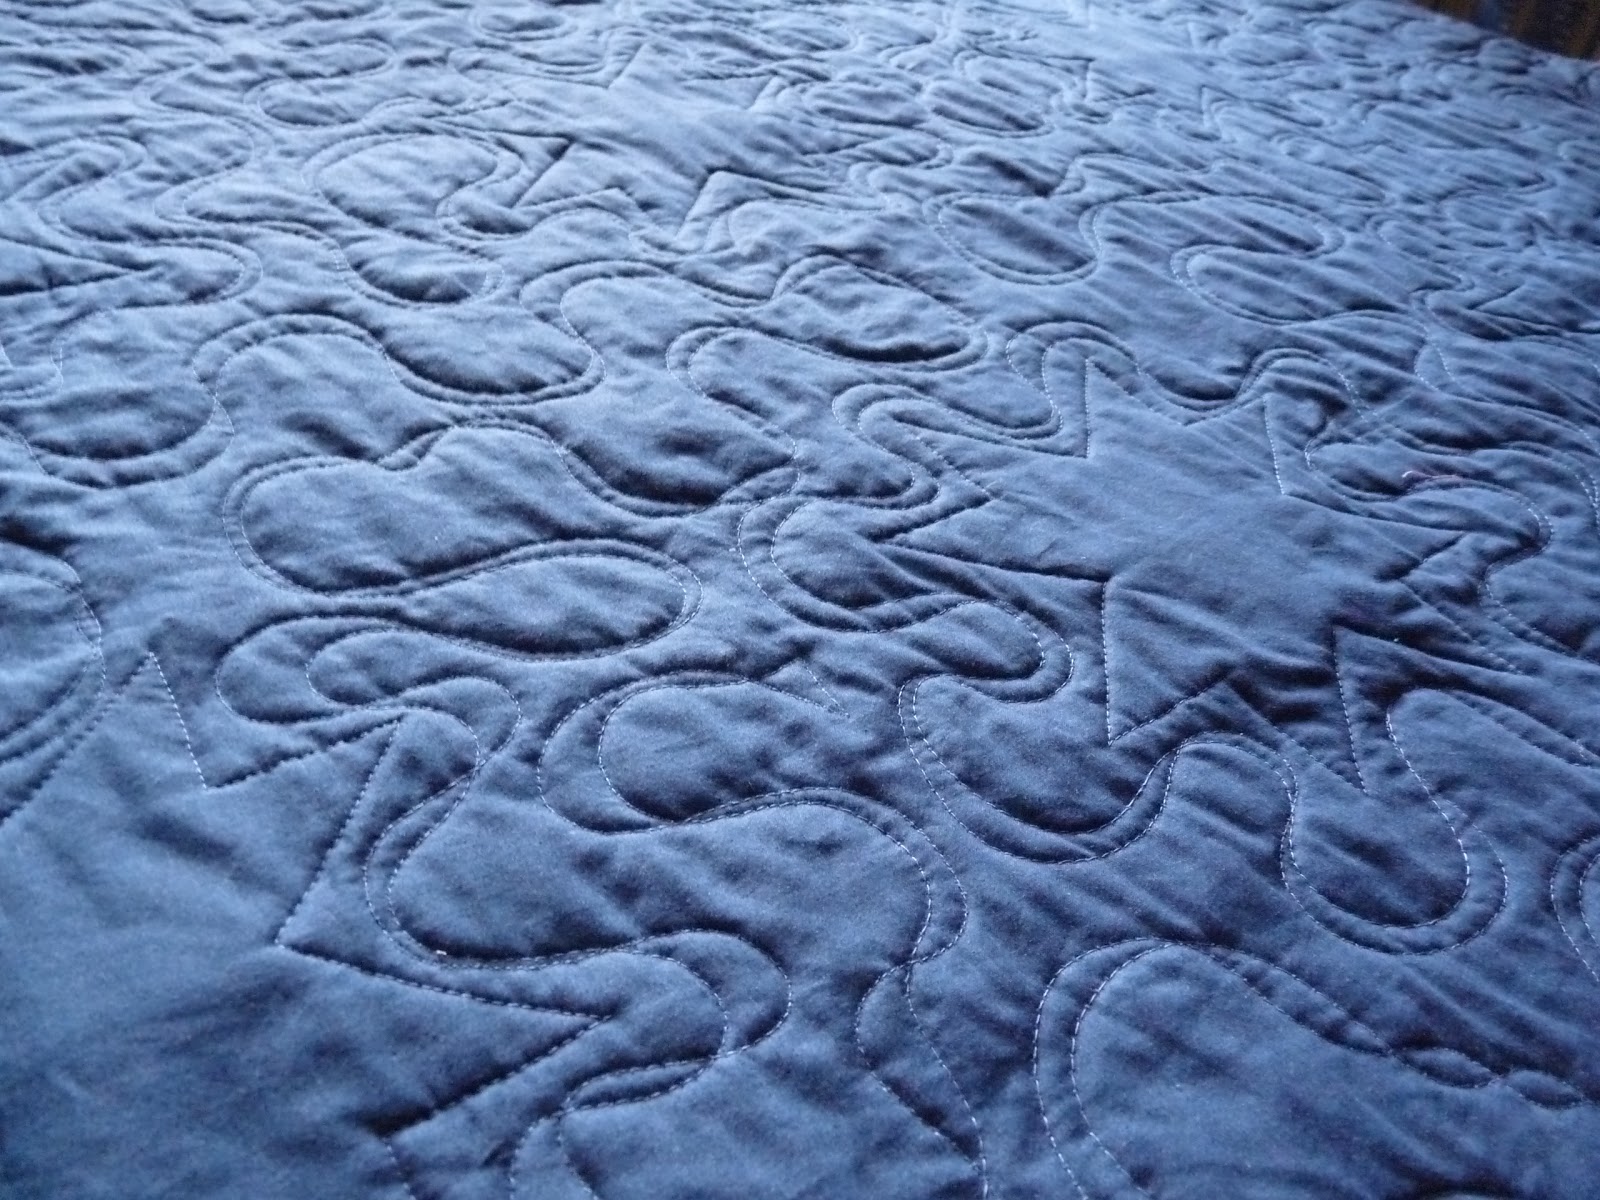
Jan made this quilt for her son who runs marathons - he must be mad!  The star centres look a little full and puffy because Jan is going to handquilt in them so I left them unquilted.


You can see the quilting better on the back.  It is just a simple ribbon meander - the ribbon is supposed to tie in with the marathon running - I hope he has a happy 40th and enjoys his quilt!

Thursday, 7 February 2013

Little gifts


A new batch of small brooches for Donna Marie's shop.


These are smaller than the first brooches I showed you here last year - when you don't have to fit lots of writing on, you can downsize a little!


Also for the shop, a little wall hanging personalised with an appliquéd name.  We always try to keep two of these in the shop at a time: a girl's and a boy's, to give people an idea of what they look like.  The idea is that customers can order the name of their choice in the colours of their choice.  However, this is the third girl's sample I've made so far, as well as actual orders, because on two occasions people have walked in and wanted to buy the sample - at least now I'm super-quick at producing them!

Sunday, 27 January 2013

More progress...

In preparation for adding the lettering to the banner, I cut away all the background from behind the rays of light.  


Bit of a wonky shot, but you can see how the rays look now they're stitched in place.


Next up is lettering.  I had two problems to solve - how to add a nice even oval of lettering all around the candle, and how to get all the bondawebbed letters ironed in place without myriad trips back and forth to the ironing board.  In the photograph above you can see my first attempt at answering problem two, which didn't work - the white oval is the words printed out and taped together but no way is the oval right, and I have no idea how I thought that would help me place the letters accurately!  Problem one is solved though - 4' x 6' of plywood that I can iron on, so I can lay out all the words and iron them in one fell swoop right there on the dining room floor.  Thank goodness for useful local DIY shops!

 
This was my eventual answer to problem two - chalk and a ruler.  I knew how big I wanted the oval to be, so I measured in from each edge at its centre point, and made little chalk marks.  Then I drew one quarter of the oval freehand, and did lots of measuring from that and marking on the other three quadrants to replicate the shape.

It worked out well, I'm relieved to say!  Partway through ironing I did wonder whether heating chalk up makes it permanent, but I'm happy to report it doesn't.  By that point, bondawebbing-letters-onto-a-banner madness had struck me, so I wouldn't have stopped anyway I don't think.  This is a weird condition whereby I drive myself crazy making ridiculous efforts to get everything as pefect as I can, spending absolutely ages on it, until suddenly a compulsion to just get-it-done grips me and off I go with the iron.


All I have to do now is stitch around each letter close to the edges to secure them.  All forty-plus of them.  Hmm.


The candle was nicely behaved.  I want it to be prominent, and to stand out nicely against the different colours of the banner, so I've made it in two layers which both have medium-weight vilene to pad it slightly.  In the photograph above you can see the back of each layer, with the seam allowances tacked over....


....and here are all four pieces, with the ever-so-annoying-slippery-gold-stuff and lovely-well-behaved ivory silk layers on top of the black layers so you can see what they will look like when they are finally stitched in place.  (You just have to try not to notice the tacking, which will of course all be gone eventually.)  I'll only be adding the candle to the banner once the quilting is done.  That's this week's progress!

Saturday, 19 January 2013

January work-in-progress


Little scraps on my cutting table in the snowy sunshine…


Trimmed from a base of stripes…


Over which I need to work out how to piece or applique these segments!


Sunday, 6 January 2013

Carole's Quilt


Some pictures of a customer quilt completed over the holidays.  These are the true colours: some of the other photographs look very pale but that’s just the dreadful light I seem to have at present: when will it stop being so gloomy?!


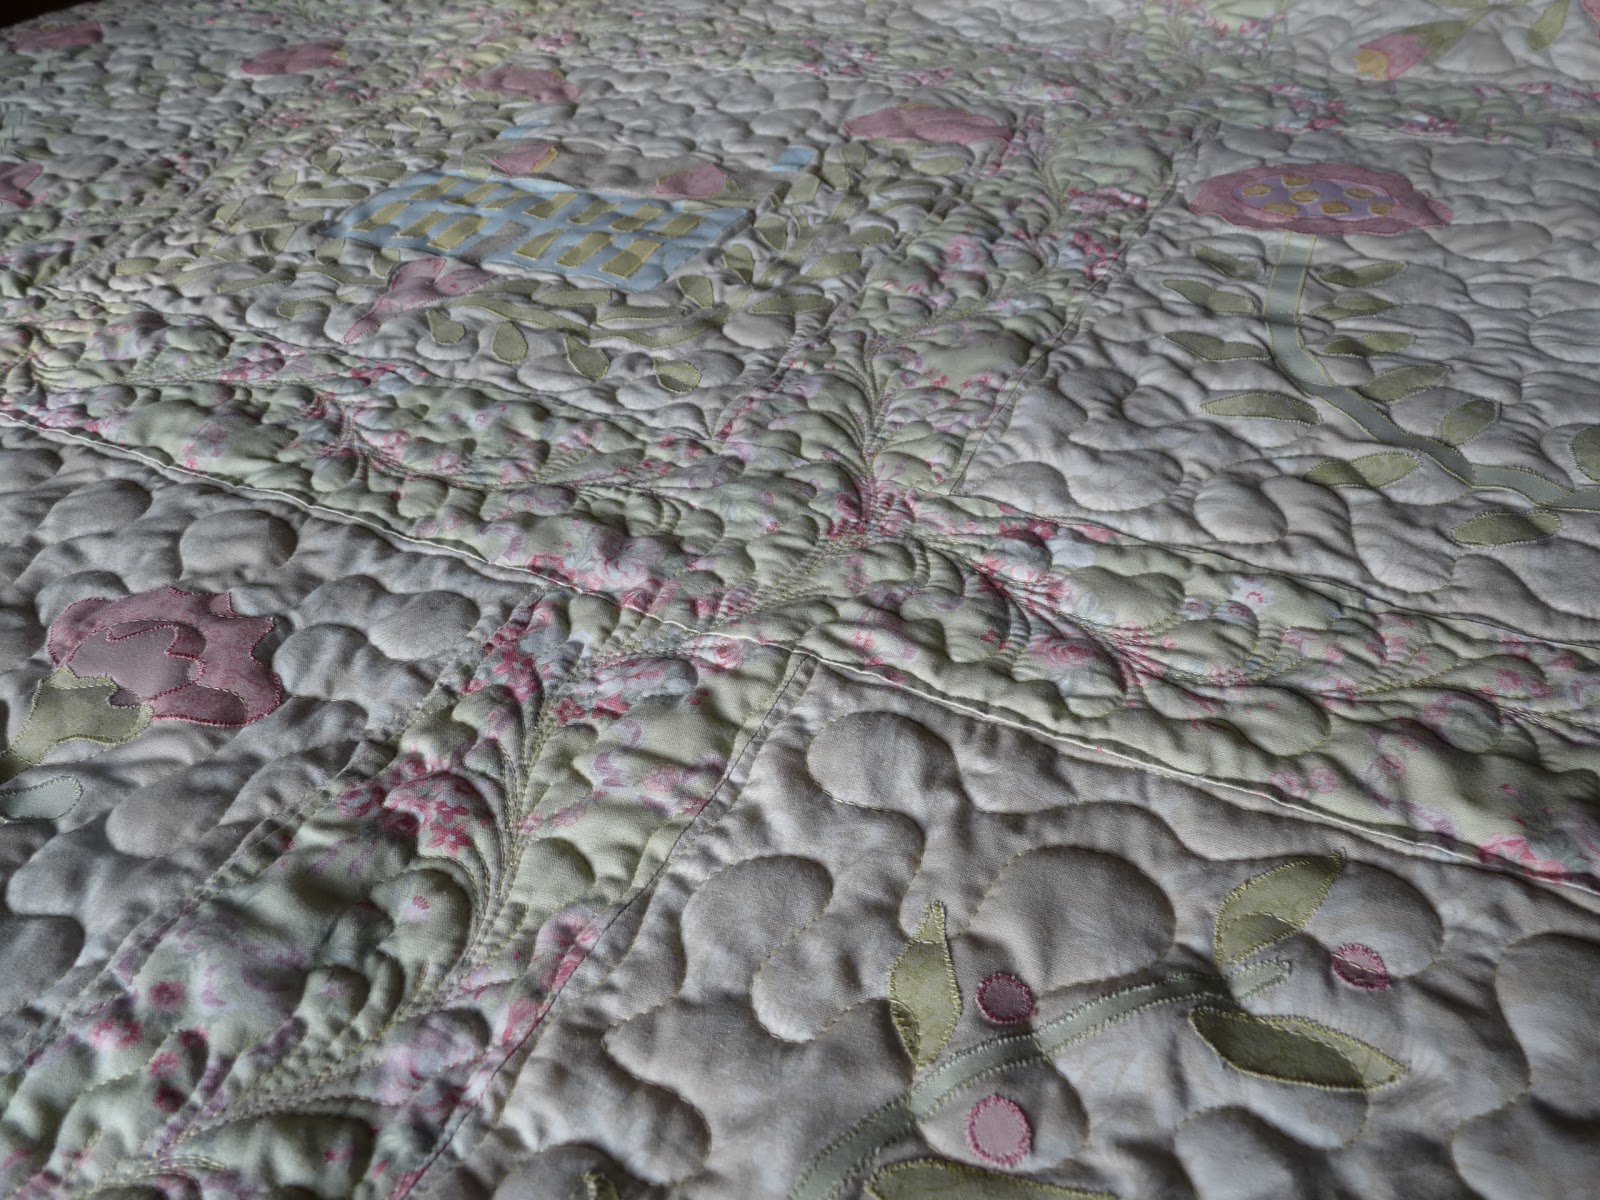
When Carole brought her quilt to me, she brought her friends too!  We had a lovely time deciding exactly how to quilt her quilt. 


We agreed on meandering over the applique and a serpentine leafy feather in the sashes.   Surprisingly, a lemon coloured thread seemed as if it would work best.  I also added wiggly outlining on the inside and outside of each block to define the spaces.

It was good to get back to working after the holiday: I hope everyone had a relaxing and happy time!